Here is the Layout Love Creation for October!
This month I didn't use any stamps but instead did a little punch art. This is just one idea using this layout and I'll send you a pdf with two more ideas on how you can use it too, design by my talented friends, Chelsey Christensen and Lynda Day.
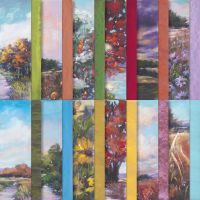
This layout used 3 panels of DSP but not in a straight line, which was really fun with the Splendid Autumn Designer Series Paper.

Use a Blending Brush or Sponge Dauber to great some shading on the cardstock.
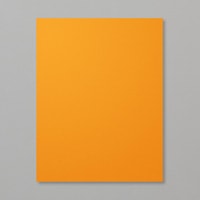
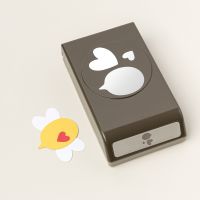
The Pumpkin was made with 3 punched out pieces of Pumpkin Pie cardstock using the Bee Builder Punch.
You can make this card too when you shop from my online store. Be sure to use my Hostess Code to get extra rewards from me! KXKRZVEQ
October 2024 Rewards
Use Host Code KYKRZVEQ and as a thank you for ordering
💚 Spend $15 and get the July Layout Love pdf
💚 Spend at least $50 and get my Happy Mail Gift & Card
💚Spend $150 or more and receive Stampin’ Rewards
Product List
Measurements
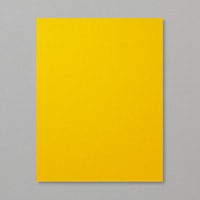
Crushed Curry Cardbase: 5 1/2" x 8 1/2" scored @ 4 1/4"
Crushed Curry: 4" x 5 1/4"
Pumpkin Pie: 2" x 6"
DSP: (3) 1 1/2" x 3" or 3 1/4"
*You can make more from a 6" x 6" DSP if you measure it at the 3"
**Photo is of the 3 1/4"
Steps
- Measure, score, and cut your paper.
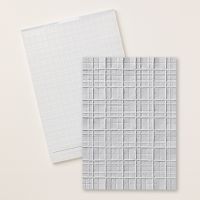
- Emboss the Crush Curry with the Forever Plaid 3D Embossing Folder and use liquid glue to attach to the cardbase.
- To create the pumpkin punch out 3 of the bee bottoms. Trim one stem at a slant and remove completely the other two. Use a Blending Brush or Sponge Dauber to ink the edges with Pumpkin Pie ink.
- Glue the DSP so it doesn't line up (bottom far left, middle far right, top in between) .
- Use dimensionals to attach the pumpkin punch outs. Make it as wide or narrow as you would like.
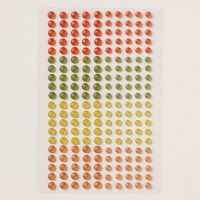
- Embellish with a Linen Thread bow and 5 of the Faux Glass Dots.
Happy Stampin' Everyone!!!





No comments:
Post a Comment
Thank you so much for leaving me a comment! It really makes my day and I love hearing from you! <3