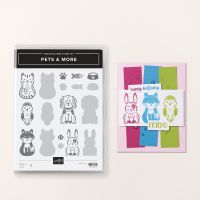
Pets & More
All images © 1990-2024
Stampin’ Up!®
Supplies:
·
Stamp Sets:
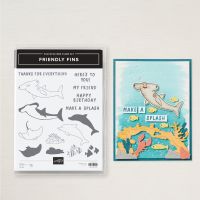
Pets & More (163607) Friendly Fins (163483)
·
Cardstock (CS) and Paper:
Basic White (159276); Basic White Thick
(159229); Basic Black (121045); Flirty Flamingo (141416); Coastal Cabana
(131297); Lemon Lime Twist (144245); Petunia Pop (163801)
·
Stamp Pads:
Tuxedo Black Memento (132708); Uninked Stampin’ Pad & Whisper White Refill
(147277); Versamark (102283)
·
Tools:
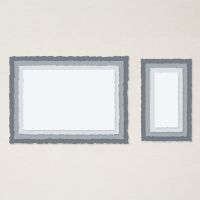
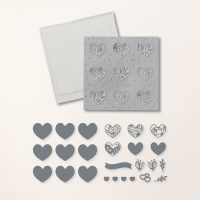
Deckled Rectangles Dies (159173); Adoring Hearts Hybrid Embossing Folder
(162569); Paper Trimmer (152392)
·
Miscellaneous: Simply
Shammy (147042); Stampin’ Dimensionals (104430); Stampin’ Seal Adhesive
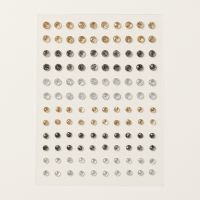
(152813); Multi-Purpose Liquid Glue (110755); Adhesive-Backed Sparkle Gems
(161288)
Measurements:
·
Basic White Thick: 8 1/2” x 5 1/2”,
score at 4 1/4”, plus scrap for sentiment
·
Basic Black: 4” x 5 1/4”, plus scrap
for heart
·
Flirty Flamingo, Coastal Cabana, Lemon
Lime Twist, Petunia Pop: Cut a rectangle of each measuring 2” x 2 5/8”
Instructions:
1. Using
Whisper White pigment ink, Stamp the reverse side of one of the cat stamps on
each rectangle. Stamp a second time for a bolder image. (A stamp positioned is
useful here, if you have one.)
2. Leave
the ink to dry, or dry with a heat tool. Clean off the stamp with the Simply
Shammy.
3. Once
the Whisper White ink is dry, stamp over the image with the detailed side of
the stamp, using Memento Black ink.
4. Cut
a piece of scrap paper, such as copy or printer paper, to 4” x 5 1/4”, and
attach the rectangles to it with Stampin’ Seal Adhesive or Multi-Purpose Liquid
Glue.
5. Die
cut the panel with the largest Deckled Rectangle Die and attach to the Basic
Black panel, and then to the card base.
6. Using
Black Memento Ink, stamp the sentiment from Friendly Fins onto Basic White
cardstock, and die cut with a large heart from the Adoring Hearts dies. Die cut
a second heart from a scrap of Basic Black Cardstock.
7. Attach
the two hearts together, overlapping them, and then attach both to the center
of the card with Dimensionals. Add a
Sparkle Gem to the tip of each cat’s tail.
Product List
Saying Hey
All
images © 1990-2024 Stampin’ Up!®
Supplies:
·
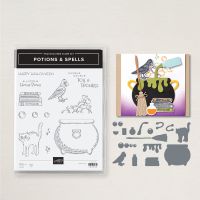
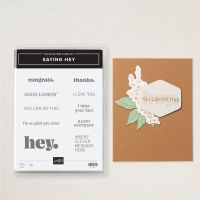
Stamp Sets: Saying Hey (163697); Potions & Spells (164355)
·
Card Stock and Paper: Basic Beige Cardstock (CS) (164511);
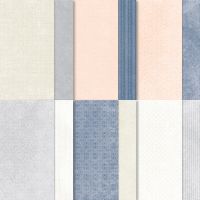
Basic White CS (159276); Petal Pink CS (146985); Country Lace Designer Series
Paper (DSP) (163415)
·
Stamp Pads: Memento Black (132708)
·
Tools: Stampin’
Blends in Bubble Bath (161675), Wild Wheat (161661), Smoky Slate (154904), and
Color Lifter (144608); Potions & Spells Dies (164141)
·
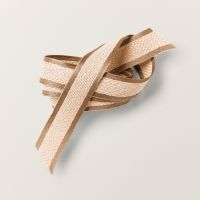
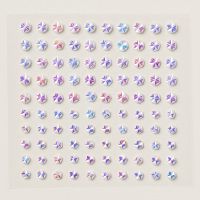
Miscellaneous: Pecan Pie Center Stripe Ribbon (162744); Iridescent Faceted Gems
(163368); Paper Snips (103579); Mini Glue Dots (103683); Stampin’ Dimensionals
(104430); Mini Stampin’ Dimensionals (144108); Multipurpose Liquid Glue
(110755)
Measurements:
·
Basic Beige: 5 ½” x 8 ½”
·
Basic White: 2” x 2 ½” for cat
·
Petal Pink: 3 7/8” x ¾” banner
·
Country Lace DSP: 4 ¼” x 5 ½” denim print
·
Country Lace DSP: 3” x 4 ¼”
Instructions:
1. Score the Basic Beige card
base on the long side at 4 ¼” and fold.
2. Attach the denim print DSP
to the card front using liquid glue.
3. Attach
the smaller piece of DSP on top of the denim print using liquid glue.
4. Using
your paper snips make a banner cut on the right side of the Petal Pink strip.
Then, stamp your sentiment using Memento Black ink and the Saying Hey stamp
set.
5. Attach
the Petal Pink banner to the card front about 1 ½” from the bottom using
Stampin’ Dimensionals.
6. Stamp
the cat using Memento Black ink on the piece of Basic White CS. Color the cat
using Smoky Slate light and blend with the color lifter, Wild Wheat (for eyes),
Bubble Bath (nose and cheeks).
7. Lastly,
add a bow using a mini glue dot and 3 Iridescent Faceted Gems to the card
front.
Happy Stampin' Everyone!!!





No comments:
Post a Comment
Thank you so much for leaving me a comment! It really makes my day and I love hearing from you! <3