Are you ready to see the colors that are part of the Color Refresh & the New In Colors for 23-25?
Watch this video and let me know which one(s) you are excited to see BACK (7 colors came back) or New (9 new)!

Happy Stampin' Everyone!!!


On The Ocean
All
images © 1990-2023 Stampin’ Up!®
Supplies:
·
Stamp Sets: On The Ocean (160772)
·
Card Stock and Paper: Night of Navy Card Stock (100867);
Very Vanilla Card Stock (101650); By The Bay Designer Series Paper (160434)
·
Stamp Pads: Early Espresso Classic
Stampin’ Pad (147114); Starry Sky Classic Stampin’ Pad (159212); Pool Party
Classic Stampin’ Pad (147107)
·
Tools: On The Ocean Dies (1160774)
·
Miscellaneous: Adhesive Backed Milky Dots (160582);
Pool Party Stampin’ Blends (light) (154894); Stampin’ Dimensionals (104430); Stampin’
Seal Adhesive (152813)
Measurements:
·
Night of Navy Card Stock: 8 1/2” x 5 1/2”
·
Very Vanilla Card Stock: 4” x 2 ½”, 3 ¼” x 2”, 1 ¼” x ¼”
·
By The Bay DSP: 5 1/2” x 3”
Instructions:
1. Fold Night of Navy Card
Stock in half to form a 5 ½” x 4 ¼” card base.
2. Adhere the By The Bay
Designer Serie Paper to the Left Front of the card base.
3. Stamp the Vessel onto the 3
¼” x 2” piece of Very Vanilla Card Stock with Early Espresso Ink. Dies cut this image out with corresponding
die. Cover all the Very Vanilla exposed
Card Stock with a Light Pool Party Blend and set aside.
4. Stamp the Clouds with Pool
Party Ink, the Birds and waves with Starry Sky as shown.
5. Adhere the sailing vessel to
the Very Vanilla with Stampin Dimensionals.
6. Stamp Happy Birthday onto
small piece of Very Vanilla Card Stock.
7. Adhere the Very Vanilla
piece with the ship onto the front of the card and add the greeting with
Stampin’ Seal.
8. Add 3 Navy Milky Dots onto
card front around the greeting.
9. Stamp you inside and
envelope to match.
Product List


Happy Stampin' Everyone!!!


 | |||
 |
This past Month I was able to be part of 3 swaps. Stamp Camp, Demo, and Royal Hearts Stampers. Below you'll find the name of each stamper and the main stamp set they used to create their cards!


| |  |


| |  | ||
 |
All
images © 1990-2023 Stampin’ Up!®
Supplies:
·
·
Card Stock and Paper: Fresh Freesia (155613); Basic
White (159276); Smoky Slate (131202)
·
Stamp Pads: Tuxedo Black Memento (132708);
Fresh Freesia (155611); Smoky Slate (147113)
·
Tools: Quatrefoil
Tile Embossing Folder (158655); Fresh Freesia Stampin’ Blends Combo
Pack (155518); So Saffron Stampin’ Blends Combo Pack (154905)
·
Miscellaneous: Basic Rhinestones (144220);
Stampin’ Dimensionals (104430); Stampin’ Seal Adhesive (152813)
Measurements:
·
Fresh Freesia Cardbase: 5 ½” x 8 ½” scored @ 4 ¼”
·
Smoky Slate: 4” x 5 ¼”, 4” x 3”
·
Fresh Freesia: 3 ¾” x 5”,
·
Basic White: 3 3/4” x 2 ¾”
Instructions:
1. Measure, score, and cut your
paper.
2. Using your Stampin’ Cut
& Emboss Machine, emboss the Fresh Freesia 3 ¾” x 5”.
3. Stamp onto the Basic White
the flower in the bottom left corner with the Tuxedo Black Memento ink. Stamp
the leaf in Smoky Slate. Stamp the greeting with Memento Ink above the leaves.
Stamp the splatter in Fresh Freesia in all the corners expect the top right
corner.
4. Color the flower with the
Stampin’ Blends. I used dark Stampin’ Blends for the outside petals and the light
Stampin’ Blends for the inside petals. Color the center with the So Saffron.
5. Assemble: Attach the
embossed layer to the matching Smoky Slate matte. Glue to the cardbase. Glue the
Basic White to the matching Smoky Slate matte. Attach it with dimensionals to
the card front.
6. Embellish with 3 Basic Rhinestones.
Happy Stampin' Everyone!!!
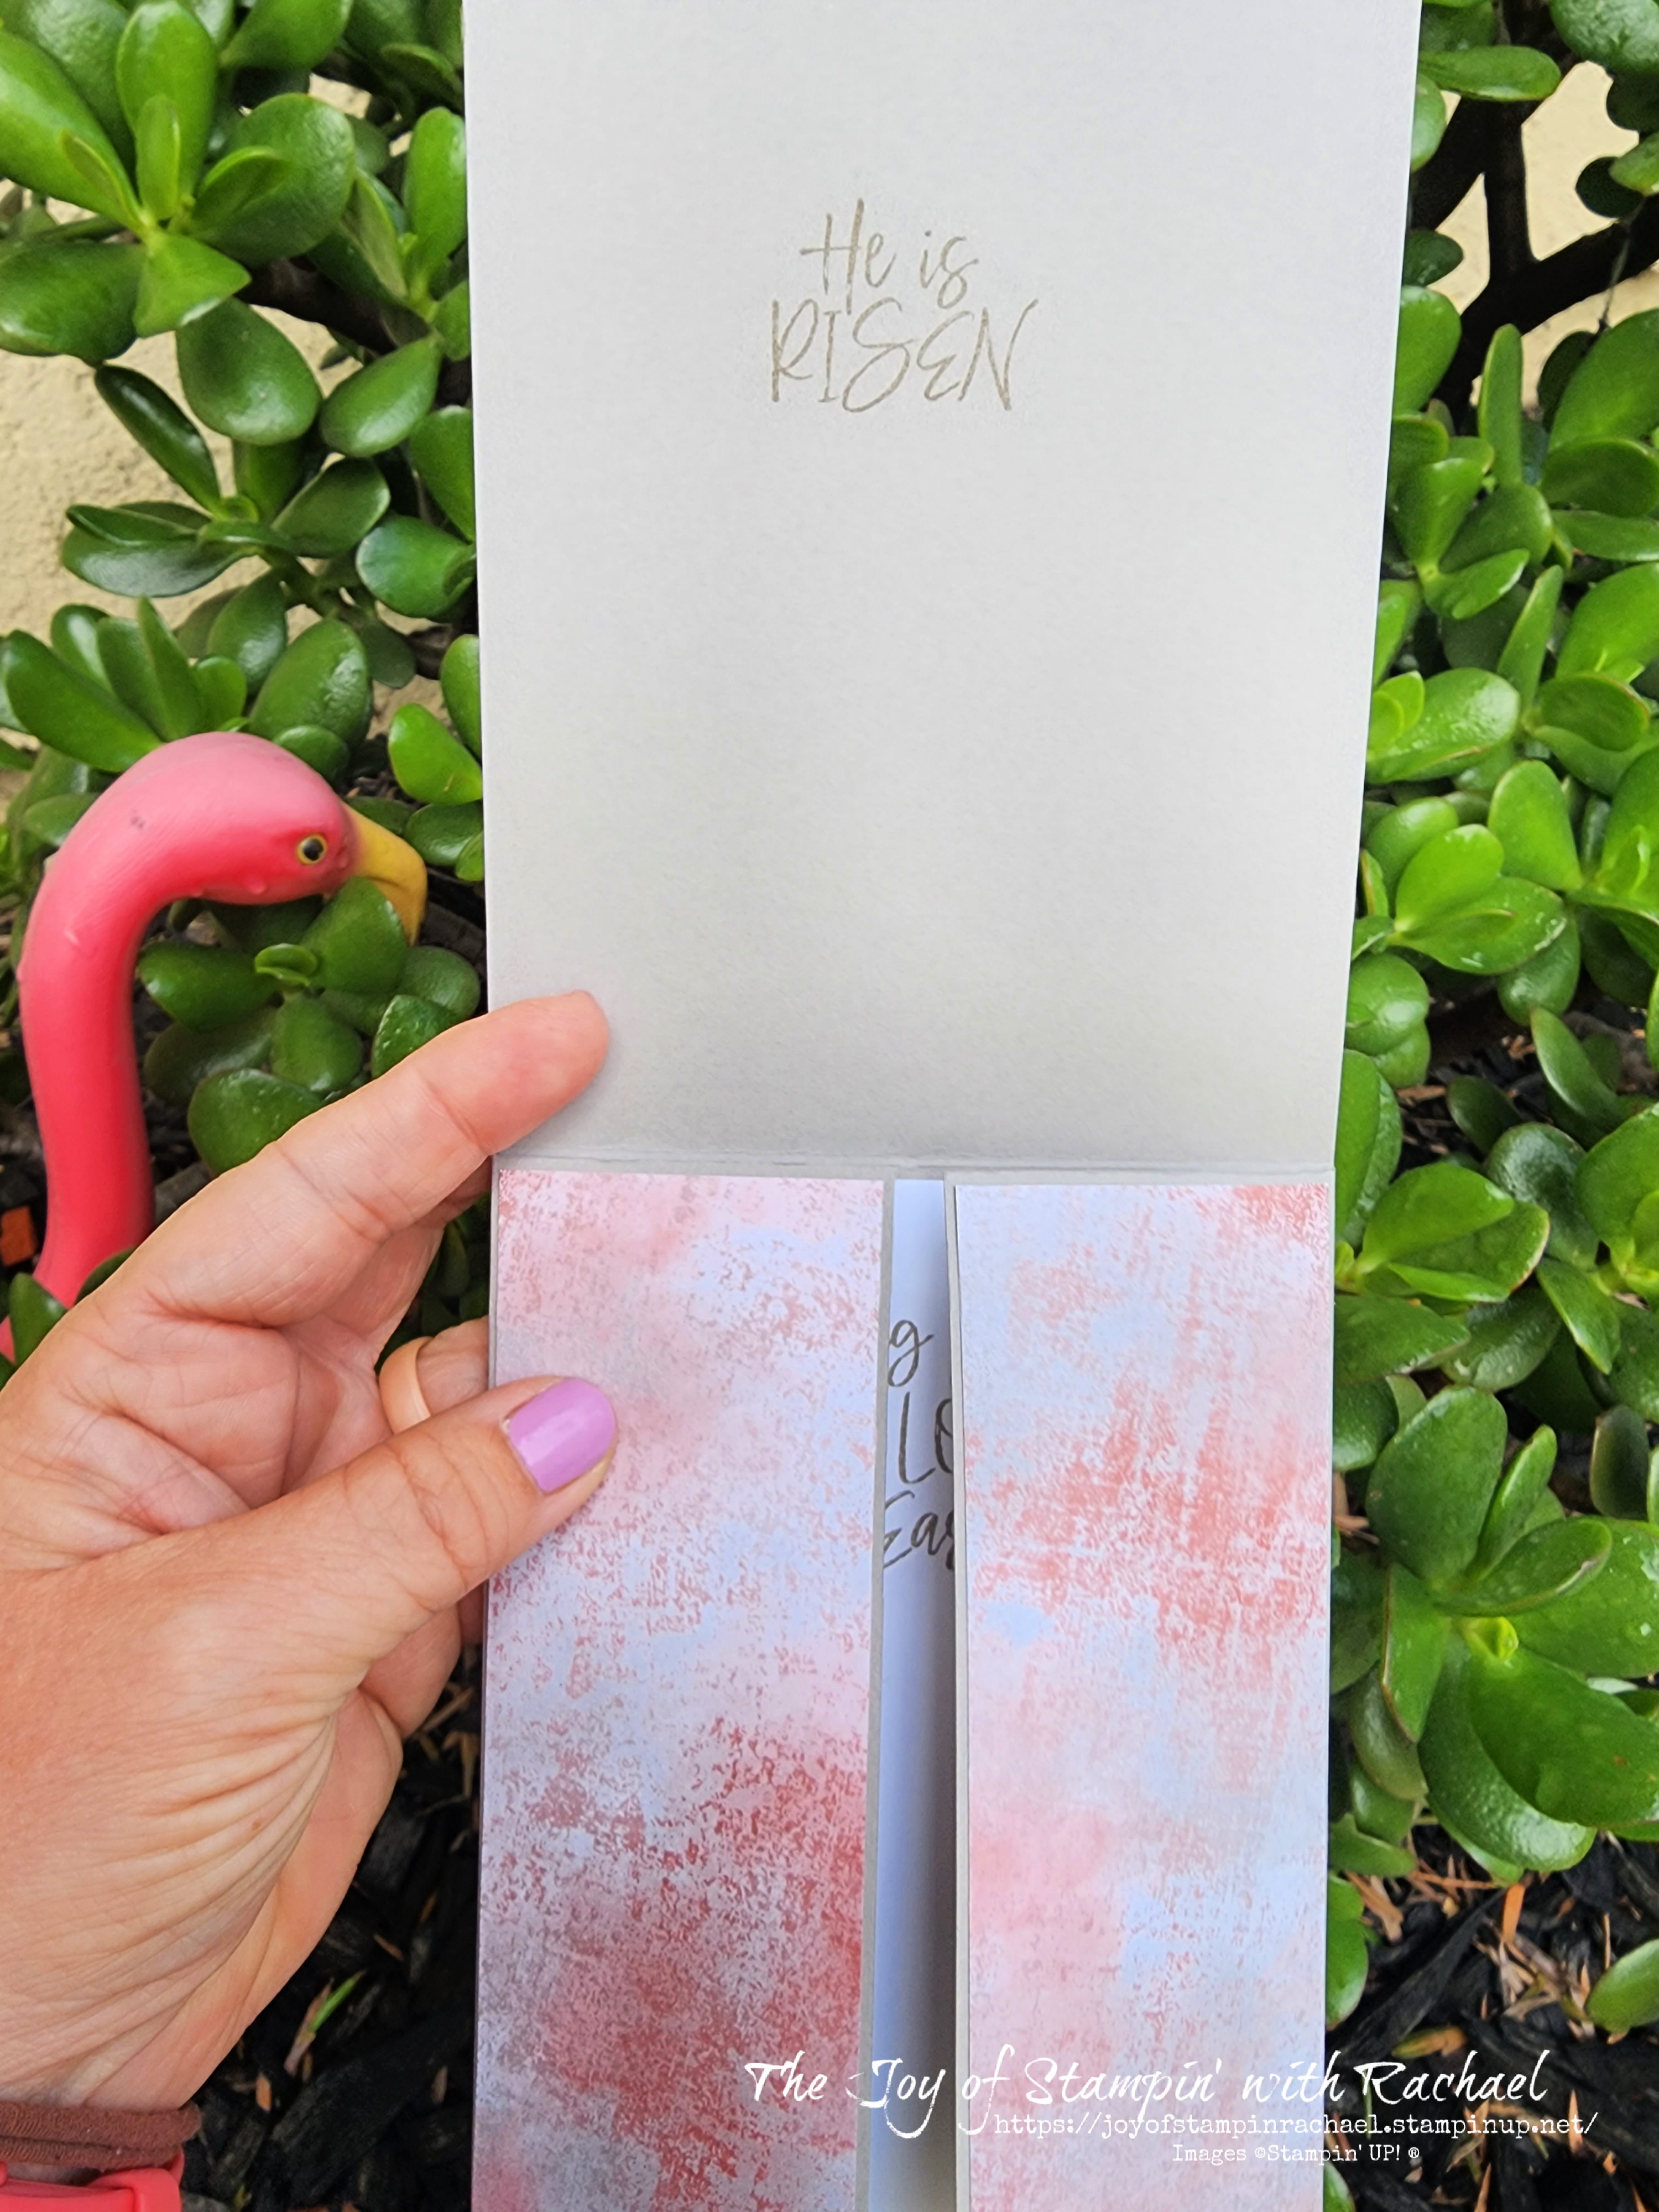
Ready for a little bit of Fall??? Check out these Simply Leaves cards from my Card Class Club that feature the New In Colors! Video Wat...


")
 Specialty Designer Series Paper")


")
 Designer Series Paper")


")


