t> The Joy of Stampin' with Rachael: August 2023

Thursday, August 31, 2023

September Penny Crafters Tutorial- Pick of the Patch


Tutorial is full of 4 great ideas how how to use this New Bundle! 


Starting September 6th you can get a 4 card Kit for FREE when you order the Pick of the Patch Bundle from me using the Hostess Code TZM27N4Q
COMING SOON! 


Order any time in September and I'll send you the FREE Penny Crafter's Tutorial to your inbox! You'll get 4 paper crafting ideas using the Pick of the Patch stamp set! Here are my two designs! 


Moody Mauve pumpkin! 


Look at this amazing Designer Series Paper. Foil on one side and "realistic" Autumn images on the other side. 


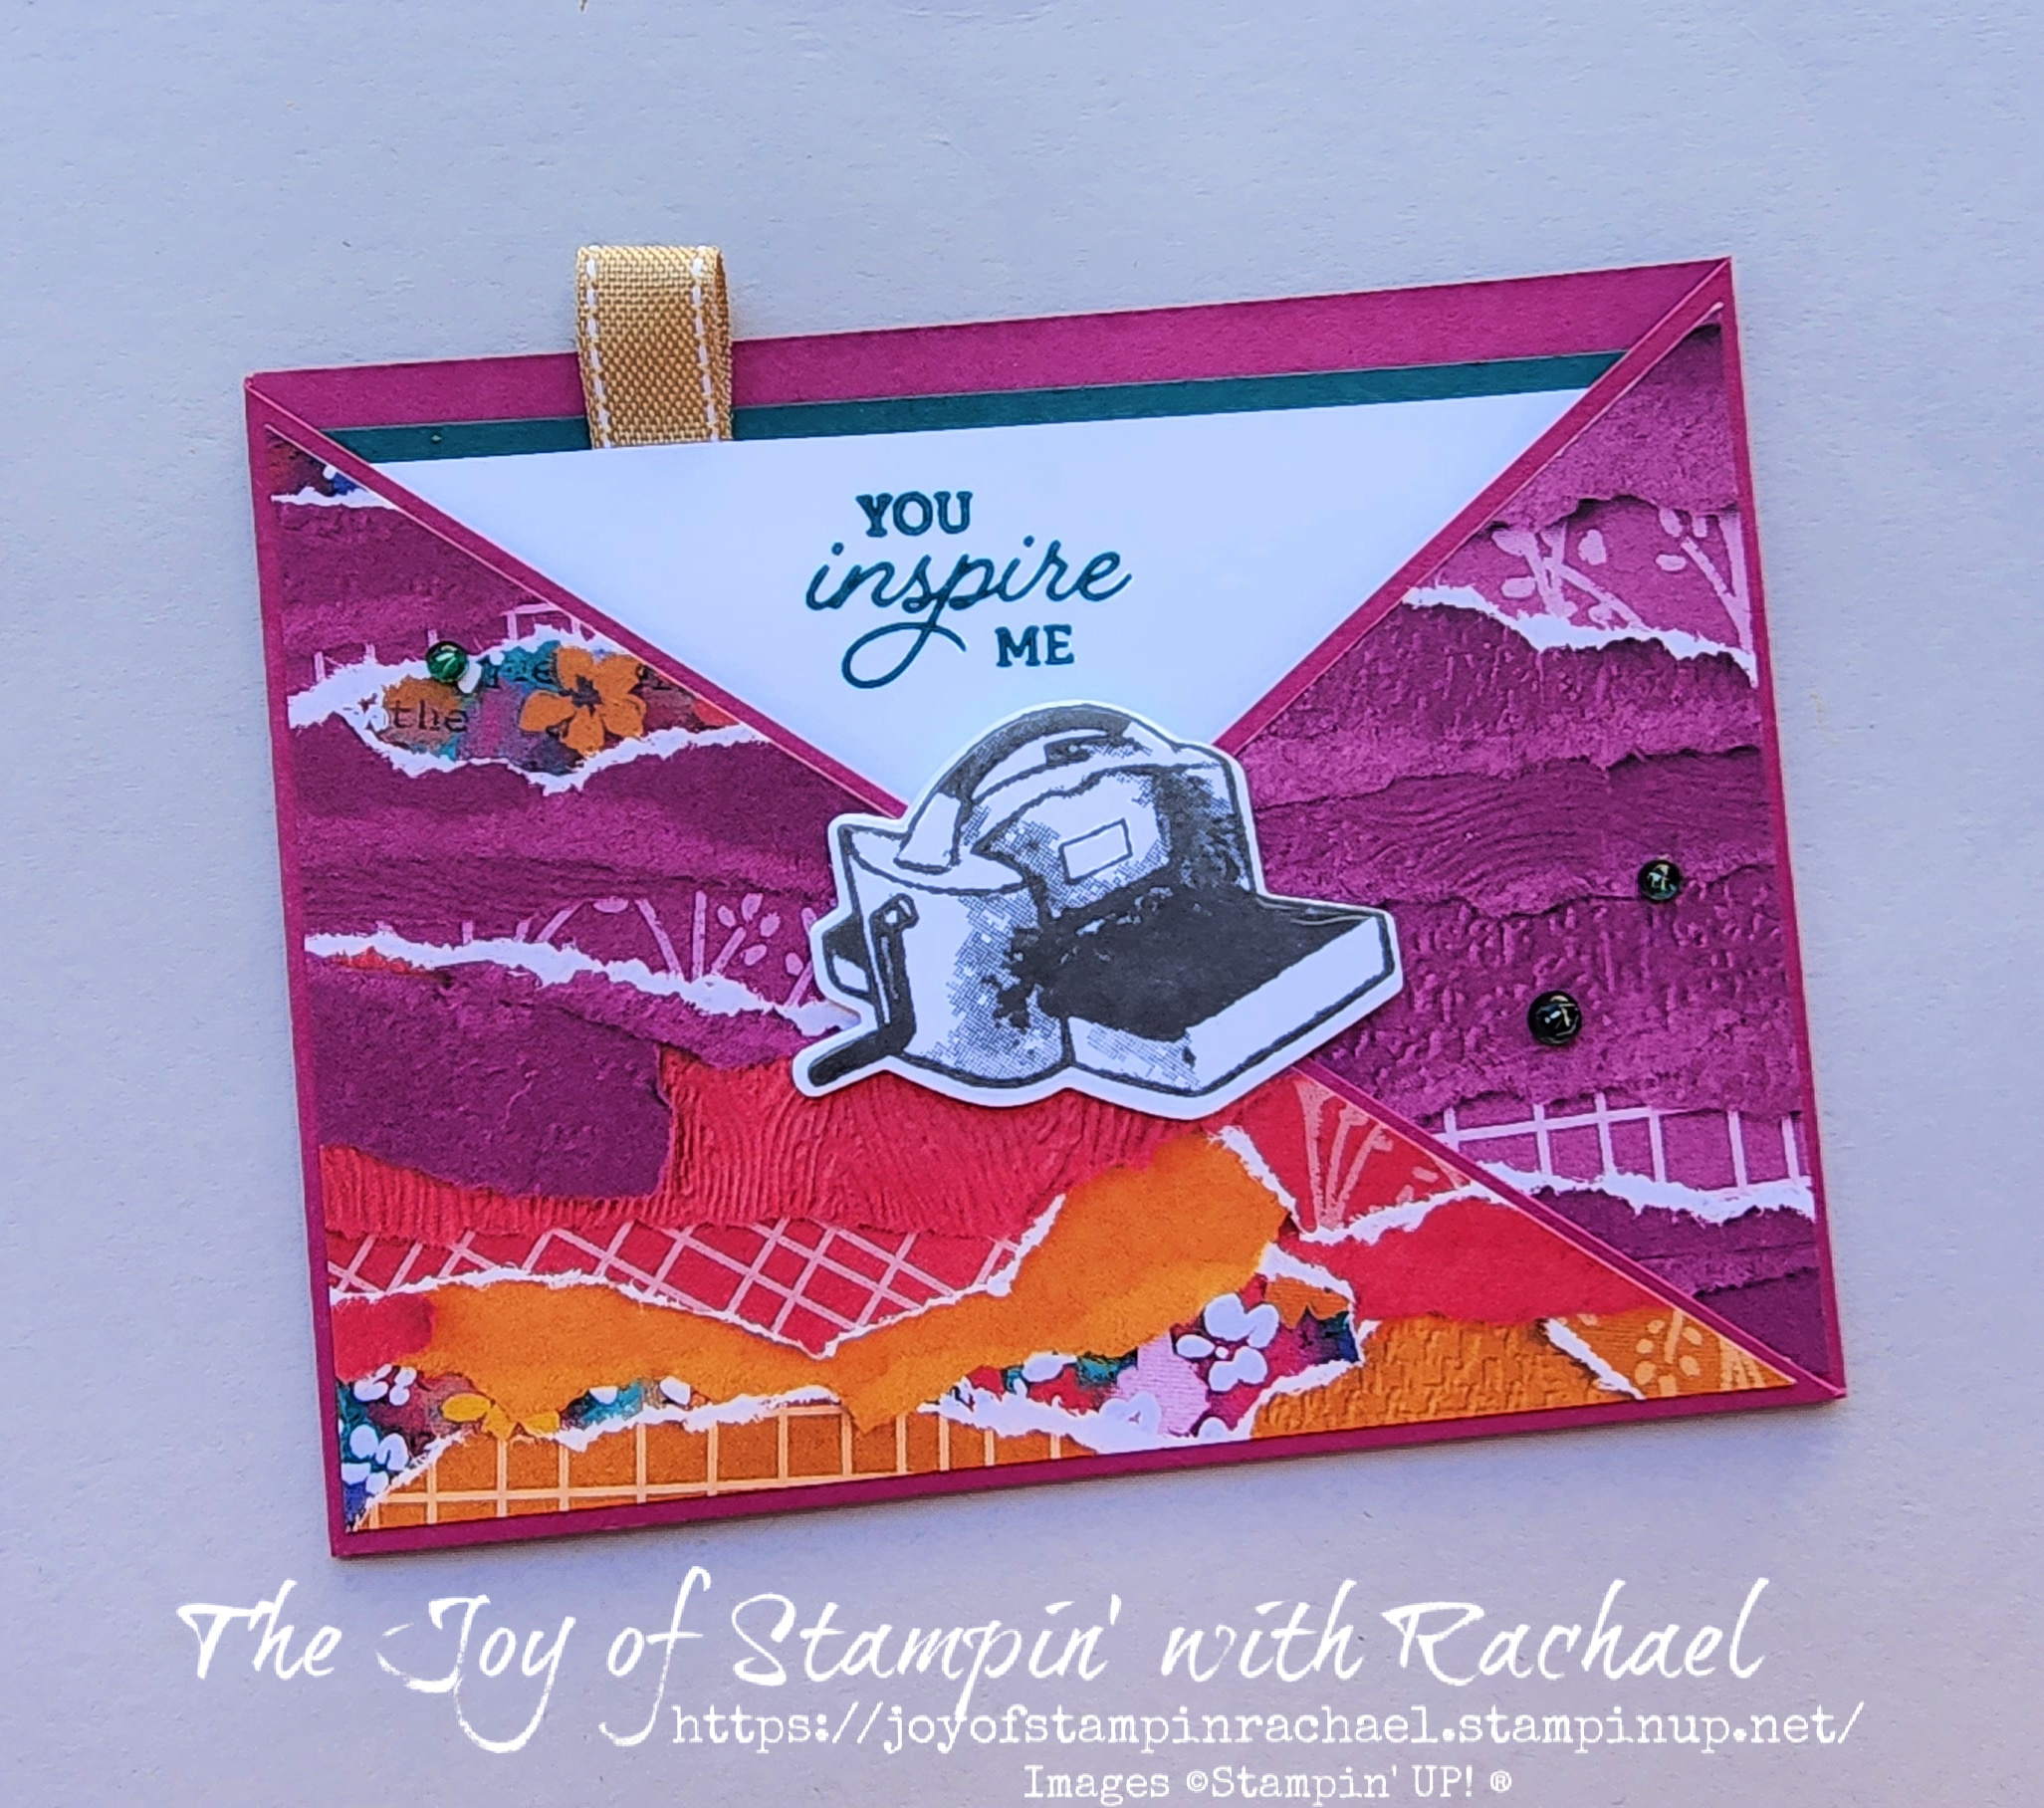
This Coastal Cabana cardbase was a card I made also for my the Leadership Swap by Carol Norquist. 


I love the Deckled Rectangles Dies, but did you notice the Deckled Circle Dies with the Moody Mauve card too?! 


Happy Stampin' Everyone!!!


Wednesday, August 30, 2023

New at SU Blog Hop Members Backstage Swappers!


Above: Lynda Day, Rachael Coon (Me), Xiemena Morales, Heather Cooper, Loni Spendlove & Diane Browning 

Backstage at Las Vegas was so much fun but one of the great highlights was meeting some people from the New at SU Blog Hop Team! One team member organized a swap for us and we met to take this fun photo! 

We all almost used new products that will be coming on on September 6th in the New Stampin' UP! Mini Catalog! Hope you enjoy this sneak peek! 


By Diane Browning California
Bag of Bones (Coming Soon)

By Heather Cooper from Canada
Autumn Leaves (Coming Soon)

By Loni Spendlove from USA
Curved Occasions (Coming Soon)

By Lynda Day from Utah 
Bag of Bones (Coming Soon)

By Ximena Morales from Germany


Here is my swap using the Beary Cute bundle, which is also my September's Christmas Card Club design! More information about how to join my club below! 


Just two more days to sign up for September's Christmas Card Club for just $25 plus $5 to ship! 
Click HERE to register! 


Happy Stampin' Everyone!!!


Tuesday, August 29, 2023

Tuesday's Tip at Ten- Linen Thread Bows & Glue Dots


Tuesday's Tip at Ten is one of my favorite time saving tricks! 
Make all of the Linen Thread bows you need all at once and then tear off a strip of glue dots. Attach each bow to the Glue Dot and keep them there until you are ready to attach to your paper making project! 

Hope this helps you today! 

Happy Stampin' Everyone!!!

Monday, August 28, 2023

Manly Monday- Supremely Awesome


Manly Monday with the Supremely Awesome Tutorial from the Stamp & Share Design Crew!  When I first saw this set, I thought it would make a perfect Teen Boy card! But honestly, who doesn't love pizza?


Click HERE to order the Supremely Awesome Stamp Set from my online store. 


Supremely Awesome

All images © 1990-2023 Stampin’ Up!®


Supplies:

·       Stamp Sets: Supremely Awesome (161560)

·       Card Stock and Paper: Basic Black (121045); Basic White (159276); Real Red (102482); Garden Green (102584)

·       Stamp Pads: Garden Green (147089); Tuxedo Black Memento (132708)

·       Tools: Stampin’ Blends – Pecan Pie (161674), Mossy Meadow (154890), Real Red (154899), Gray Granite (154886), Granny Apple Green (154885), Medium Light (159463);  Color Lifter (144608)

·       Miscellaneous: Baker’s Twine Essential Pack (155475); Stampin’ Dimensionals (104430); Stampin’ Seal Adhesive (152813); Mini Glue Dots (103683)


Measurements:


·       Basic Black CS: 8½” x 5½”, scored at 4¼”

·       Real Red CS: 4” x 5¼”

·       Garden Green CS: 2” x 5¼”

·       Basic White CS: scrap for stamping

·       Black Baker’s Twine: 8”


Instructions:


1.     Crease the Basic Black CS at 4¼” for the cardbase.  Adhere the Real Red CS to the front.  Adhere the Garden Green CS strip at the center.

2.     Using Tuxedo Black Memento ink, stamp 5 pizza slices and the 2 checkered images on the Basic White CS scrap. 

3.     Use Stampin’ Blends to color the pizza using the Color Lifter to lighten/highlight areas.

4.     Cut out the 5 pieces of pizza and cut out the 2 checkered strips (trim to 5¼”).

5.     Using Garden Green ink, stamp the sentiment on a Basic White CS strip. Then cut diagonally.

6.     Adhere the checkered strips overlapping the Garden Green CS edges.  Then adhere the pizza and sentiment using dimensionals.

7.     Add the bow using a Mini Glue Dot.


Happy Stampin' Everyone!!!


Thursday, August 24, 2023

Pick of the Patch Fun Fold


I made these beautiful Fall cards for my *Backstage Swaps using NEW products from the Mini Catalog (available to order after September 5th)! The Designer Series Paper is the true star of these. I was able to make so many different combinations! 
*Backstage is a Stampin' UP! event for Leaders and it was held in Vegas this year. 


This is a Fun Fold because the inside can be pulled out for a note card and it does not open up like a typical card. 


I hope you also love the untraditional pumpkin colors I used: Moody Mauve and Pretty Peacock. I used the Pick of the Patch Bundle (stamp set and punch)! 


Here are just some of DSP Combos I made! The possibilities are near endless! 

You can learn how to make this card with my Tutorial by clicking HERE. 
Or, watch my video on YouTube when you click HERE! 

Supplies List coming in September when the Mini Catalog goes live! 

Happy Stampin' Everyone!!!

Tuesday, August 22, 2023

Tuesday's Tip at Ten- Stamp the Backs of Your Cards


Tuesday's Tip at Ten!
Make the back of your cards "personal" or give them a "personal touch". 
If you made a card, let others know that you made it by adding your name, logo, or initials on the back. I made the cards above to send to my Mother who is currently going through rehab to learn how to walk again after a horrible accident. The people she gives them to will probably never know me and would have had no idea I made these cards if I didn't put my name on the back. Of course, I added the copyright for Stampin' UP! to give credit to the artist who designed the stamp images I used as well. 


You can get a personalize stamp from many locations. Find the best deal and get one created for you or sign the back (like an artist)! Because your cards you make are truly a work of art! 

Happy Stampin' Everyone!!!

Monday, August 21, 2023

Miss Monday- Silly Goose Stamp & Share Crew Tutorial


Miss Monday with the Silly Goose Stamp Set! I hope you enjoy this fun Tutorial from the Stamp & Share Design Crew! 


You can order the Silly Goose Stamp Set from my online store when you click HERE! 


Such a cute little goose, right!!!


Silly Goose Card

All images © 1990-2023 Stampin’ Up!®


Supplies:


·       Stamp Set: Silly Goose (160866)

·       Card Stock and Paper:

Basic White (159276), Berry Burst (144243), Bright & Beautiful

DSP (161449), Lemon Lime Twist (144245) ,

·       Stamp Pads: Berry Burst Stampin’ Blends (161681), Lemon Lime Twist Stampin’ Blends (161682), Tuxedo Black Memento (132708)

·       Miscellaneous: Ribbon Duo Combo Pack (161318), Stampin’ Dimensionals (104430), Stampin’ Seal Adhesive (152813), Stylish Shapes Dies (159183), Tinsel Gems Four Pack (161623)


Measurements:


·       Lemon Lime Twist Cardstock: 5 ½” x 8 ½”; score at 4 ¼” and fold to form card base.

·       Berry Burst Cardstock:  4” x 5 ¼”

·       Basic White Cardstock:  3 ¾” x 5”

·       Bright & Beautiful DSP:  2” x 5”

·       Basic White Cardstock:  3 ½” Circle die cut from Stylish Shapes Dies


Instructions:


1.     Cut each piece listed in the measurements above.

2.     Fold Lemon Lime Twist cardstock in half to form card base.

3.     Adhere Bright & Beautiful DSP layer to the left side of the Basic White cardstock layer; adhere these layers to the Berry Burst cardstock layer.

4.     Cut a 6” piece of Lemon Lime Twist ribbon and lay it over the DSP panel; adhere ends to the back of the Berry Burst cardstock layer then adhere panel to the card front.

5.     Slip a 4” piece of Lemon Lime Twist ribbon under the first and tie in a knot.

6.     Stamp goose with balloon image and sentiment onto the die cut Basic White stitched circle using Tuxedo Black Mement ink.

7.     Color the stamped image with Stampin’ Blends then adhere to the card front with Stampin’ Dimensionals.

8.     Embellish card front with Lemon Lime Twist gems from the Tinsel Gems Four Pack.

Product List

Happy Stampin' Everyone!!!


Friday, August 18, 2023

Fun Fold Friday- Crafting With You


Fun Fold Friday with the Crafting With You Bundle! This Fun Fold was inspired from a fellow stamper, Phyllis Walker and she learned it from my upline, Melanie Williams. 


If you are crafty in ALL things, paper crafts, sewing, needle point, and painting, this bundle is for YOU! 


Next week I am going to Vegas for a Stampin' UP! event and just know they will LOVE this Stampin' Cut & Emboss Machine card. 


It is so much fun because you just pull up the ribbon and pull out the note size card. 


There are so many options for the center piece for this card. Stampin' Cut & Emboss Machine, the Paper Trimmer, and the sewing machine are just some ideas. 


This little Paper Trimmer is just adorable!!!


I am not the best with the sewing machine, but I do appreciate the talent it takes to sew. I do love the DSP with this image as it reminds me of quilt like fabric pieced together. 


You can make this card too when you use the images below to shop from my online store! 


Measurements
Berry Burst Cardbase: (2) 4 1/4" x 11" scored @ 5 1/2"
DSP: 4" x 5 1/4" cut on the diagonal from top left to bottom right (on the 4 inch side)
Pretty Peacock: 3 1/2" x 5"
Basic White: 3 1/4" x 4 3/4"
3" x 2" (die cut)

Steps
  1. Measure, score and cut your paper. 
  2. Watch video to learn how to cut the cardbase. 
  3. Stamp the Stamp' Cut & Emboss Machine with the Basic Gray onto the Basic White paper and die cut it out. 
  4. Stamp your greeting onto the top center of the Basic White using the Pretty Peacock ink. 
  5. Attach with Tear Tape about 2 inches of ribbon folded in half behind the Basic White on the top. Glue the Pretty Peacock matte behind it. 
  6. Glue the DSP triangles to the cardbases. Glue down the bottom of the right base using Tear Tape. Attach to the other cardbase and glue down that bottom. (see video)
  7. Attach the Stampin' Cut & Emboss Machine with dimensionals. 
  8. Embellish with the Tinsel Gems and slide the note card back in. 


Facebook Live Video


Happy Stampin' Everyone!!!


Double Feature Friday- Country Flowers

  Double Feature Friday with 2 Tutorials from the Stamp & Share Crew using the Country Flowers stamp set! This set comes out on May 1st!...