

Fun Fold Friday with the Cutest Onesie Bundle!
Right now I have 5 friends in my neighborhood that are expecting a baby. So it was time for me to stock up on my Baby Cards.

This card has a double open or a big cardbase and a small cardbase. You lift the small first, then the bottom of the big.
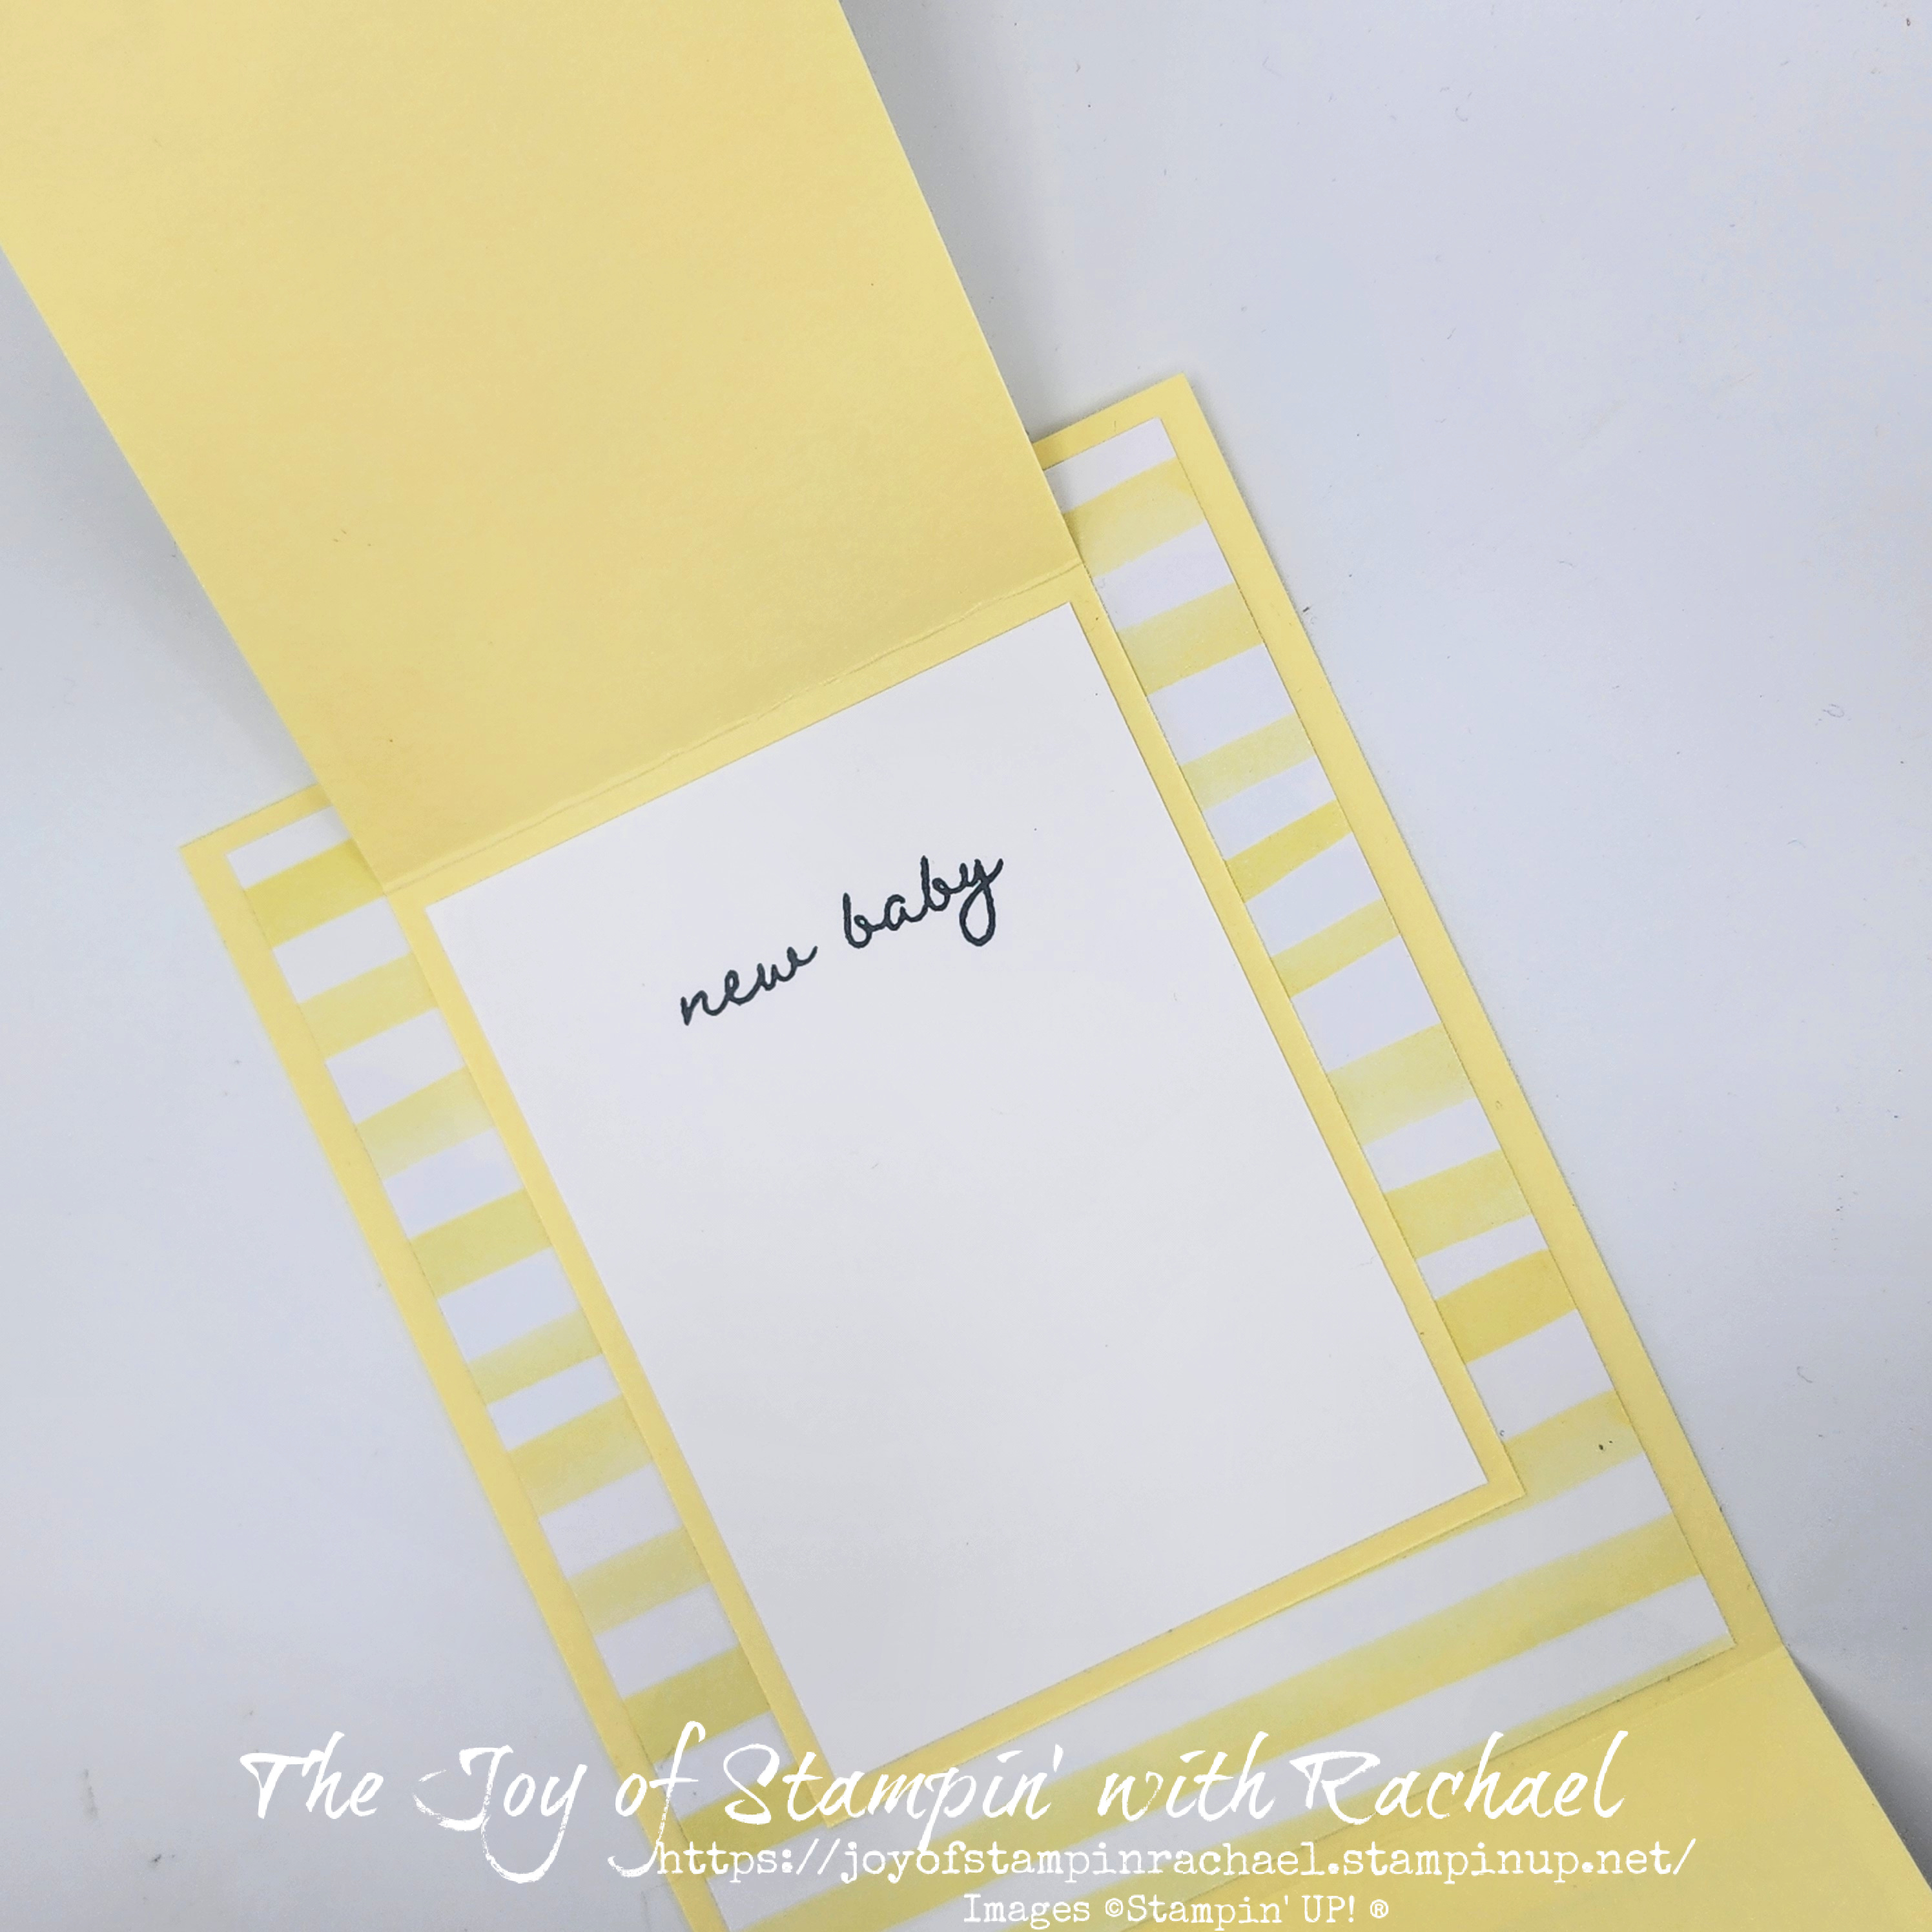
Unfolds is a spot to write a fun message and has an gift card spot option (see video).

The star of the show is that cute onesie that was stamped onto Designer Series Paper and die cut out!
Can you see how the hanger looks like it is inside the onesie??? That is because it is! The die also does a little cut line for you to be able to slide that hanger into it's spot! Awesome, right!
Give this Fun Fold a try with the stamps you've got OR visit my online store to add this cute Bundle to your collection!
August 2024 Rewards
Use Host Code B7R7VHS4 and as a thank you for ordering
💚 Spend $15 and get the July Layout Love pdf
💚 Spend at least $50 and get my Happy Mail Gift & Card
💚Spend $150 or more and receive Stampin’ Rewards
Supplies
Product List
")


 Designer Series Paper")


Measurements
Lemon Lolly: 4 1/4" x 8 1/4" scored @ 5 1/2", 3" x 8" scored @ 4"
Basic White: (2) 3 3/4" x 2 3/4", 1/2" x 3"
Lemon Lime Twist: 2" x 2"
DSP: 4" x 2 1/2", 4" x 5 1/4", 2" x 3" (onesie)
Steps
- Measure, score, and cut your paper.
- Die cut from the Basic White the heart arch at the top of the paper.
- Die cut the hanger and numbers from the Lemon Lime Twist.
- Stamp with Basic Gray the onesie onto the DSP and die cut out.
- Stamp with the Basic Gray onto the Basic White "New Baby" and "A big welcome...".
- Create a banner end to the Basic White 1/2" x 3".
- Glue the Basic White to the little cardbase. Attach the onesie with Dimenionals. Glue the numbers to the bottom left corner.
- Glue the DSP to the big cardbase. Attach inside the BIG cardbase the little cardbase (see video).
- Use a Dimensional on only have of the banner and attach it to the mini cardbase.
- Make a Baker's twine bow and slide it under the banner.
- Embellish with 4 Transparent Adhesive Backed Dots.
Video
If you enjoyed this post…
👉Subscribe to my YouTube Channel to watch my tutorials
👉 Subscribe to my Email List to receive Weekly Deal Updates & Creations
👉 Follow me on my Facebook page to connect and share
👉Get the Starter Kit for $99 and get FREE Shipping + Supplies + $124 product choice
Happy Stampin' Everyone!!!


No comments:
Post a Comment
Thank you so much for leaving me a comment! It really makes my day and I love hearing from you! <3