Fun Fold Friday with Friendly Fins Bundle!
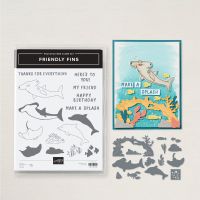
This was my Stampin' Friends second favorite when placing a vote! It is no wonder either! There are so many fun possibilities with these sea creatures!

The front of this card has stamped sea creatures and die cut friends!
What makes this card so fun is the double opening. One flip and you can see the coral reef and little fishes.
The second flip reveals a blank inside to write whatever you would like!
Give this Fun Fold a try and shop from my online store!
August 2024 Rewards
Use Host Code B7R7VHS4 and as a thank you for ordering
💚 Spend $15 and get the July Layout Love pdf
💚 Spend at least $50 and get my Happy Mail Gift & Card
💚Spend $150 or more and receive Stampin’ Rewards
Supplies
Product List
Measurements
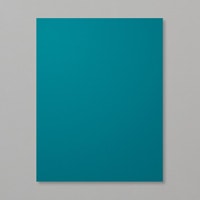
Pretty Peacock: 4 1/4" x 8" scored @ 5 1/2"
Mattes: 2 1/4" x 4, 1 1/4" x 4"
Bottom: 1 1/2" x 4 1/4"
Center:2" x 4"
Basic White: 4" x 8" scored @ 4"
4" x 5 1/2" (stamped creatures)
1 7/8" x 3 7/8"
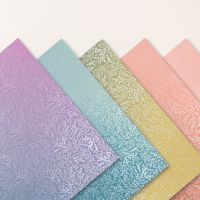
DSP: 1 1/8" x
2 1/8" x
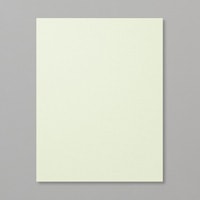
Soft Sea Foam: 4" x 3" (coral arch)
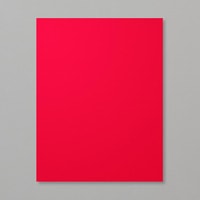
Poppy Parade: 2" x 2" (lobster)
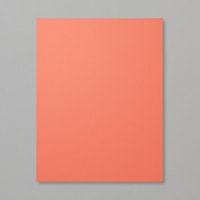
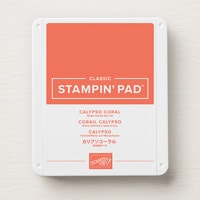
Calypso Coral: 2" x 2" (fish)
Crumb Cake: 2" x 2" (sand)
Steps
- Measure, score, and cut your paper.
- Die cut the paper shapes.
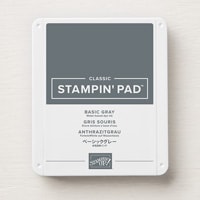
- Stamp the shark, stingray, and dolphin outline onto the Basic White with Basic Gray.
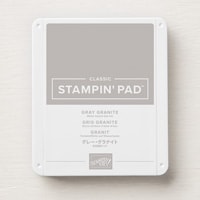
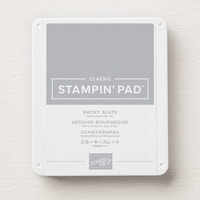
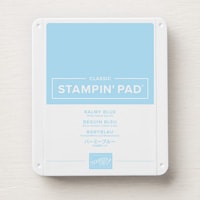
- Stamp the color in for each creature. Shark is Gray Granite, stingray Smoky Slate, and dolphin Balmy Blue. Die cut these out.
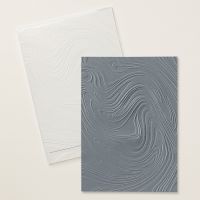
- *Optional: Dry emboss the Basic White with the So Swirly embossing folder.
- Use Blending Brushes with Soft Sea Foam and Pretty Peacock onto the Soft Sea Foam coral arch. Glue it to the front of the Basic White.
- Stamp on the inside the Calypso Coral fishes. Stamp off the Calypso Coral for the color in for the fishes. Glue that cardbase inside the Pretty Peacock cardbase.
- Glue the mattes to their matching DSP.
- Attach the center to the top of the cardbase with dimensionals. Attach the bottom by lining up the bottom to the inside.
- Glue on the sea creatures with dimensionals and liquid glue.
- Make a Linen thread bow and attach with a glue dot.
- Embellish with the Transparent Adhesive Backed Dots.
Video
If you enjoyed this post…
👉Subscribe to my YouTube Channel to watch my tutorials
👉 Subscribe to my Email List to receive Weekly Deal Updates & Creations
👉 Follow me on my Facebook page to connect and share
👉Get the Starter Kit for $99 and get FREE Shipping + Supplies + $124 product choice
Designer Series Paper is on sale in August! Don't miss out on your favorites for less!
Happy Stampin' Everyone!!!







No comments:
Post a Comment
Thank you so much for leaving me a comment! It really makes my day and I love hearing from you! <3