

Welcome to the NEW AT SU! Blog hop! We are a group of Stampin’ Up! Independent Demonstrators from around the world who are full of creative paper crafting ideas to share with you and help get you crafting! This month we are showing off a lot of the different FONTS Stampin' UP! has to offer through stamps & dies!

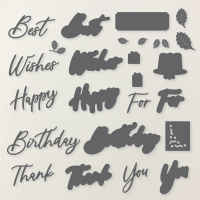
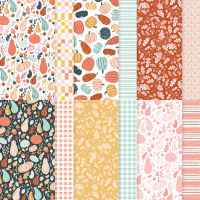
I used the Words & Wishes Dies to create these 3 cards and paired it with Painted Patch Designer Series Paper to give them a Autumn feel.

I also used the cute leaves that are part of this die set.

The Happy Birthday is HUGE...Birthday is about 3 inches wide and covers a large portion of the card front. Did you notice? I didn't stamp at all by using these dies.

Same layout from above just added the Basic White circle behind the font to help it stand out and changed out the DSP to feature the Cajun Craze.

Thank you card uses the same layout but just switched the location of the cluster of die cut leaves!
This is just one of the many Font-tastic FONTS you can find with Stampin' UP! Keep on hopping and visit the next blog on the list!
I am happy to answer any questions about the products I used and if you don't have a Stampin' Demonstrator you can get all of the supplies for these creations from my online store using the links below!
Product List
 |  |  |  | |
 |  |  |  | |
 |  |  |
Measurements (in inches)
Cardbase: 5 1/2" x 8 1/2" scored @ 4 1/4"
Basic White Embossed: 4" x 5 1/4"
Matte: 2" x 4 3/4", 1 1/4" x 4 3/4"
DSP: 1 7/8" x 4 5/8", 1 1/8" x 4 5/8"
Steps
1. Measure, score, and cut your paper.
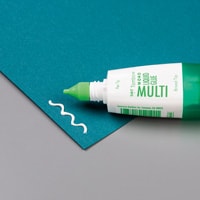
2. Die cut your leaves, and letter outline in the same color. Die cut the thin font with Basic White. Glue together the outline with the thin font.
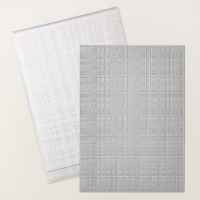
3. Emboss the Basic White with the Softly Woven Embossing Folder and glue to the front of the card front.
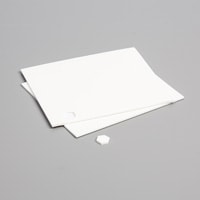
4. Attach the DSP to the Mattes and glue to the Basic White that was embossed. Glue the circle on both of the DSP panels and attach the greeting with Dimensionals.
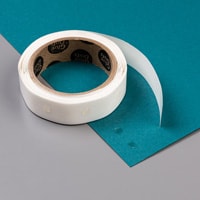
5. Use Mini Glue Dots to attach the leaves.
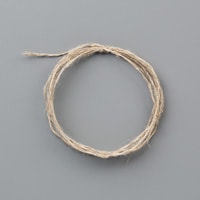
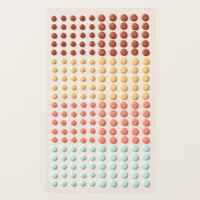
6. Embellish with a double Linen Thread Bow and 3 of the Painted Patch Dots!
Here's all of the deets!

Join my Royal Hearts Stampers Team this month and Stampin' UP! will give you a $50 in Rewards for even MORE Stampin' Products!!!

15% off Dies for October 21st-23rd!
Click HERE to see all the dies.

November Paper Pumpkin Tags of Joy!
Subscribe by November 10th!
Click HERE to Subscribe!
Happy Stampin' Everyone!!!


Those dies are a great addition to a craft room, love your cards.
ReplyDeleteThank you!!!
DeleteWho needs stamps anyway?? lol! I love how you showed the layout with different colors and words; definitely shows the versatility of not only the dies but the papers as well. Great set of cards! TFS!
ReplyDeleteWith font dies like these, we almost don't need stamps! LOL Thanks for your kind words!
DeleteLove this selection and how you’ve shown off all the DSP. These dies are tempting x
ReplyDeleteThank you so much!
ReplyDelete