








Christmas Words Collage
All
images © 1990-2026 Stampin’ Up!®
Supplies:
·
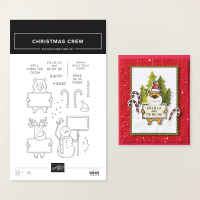
Stamp Sets: Christmas Crew (168374)
·
Cardstock and Paper: Misty Moonlight (CS) (153081);
Basic White (166780)
·
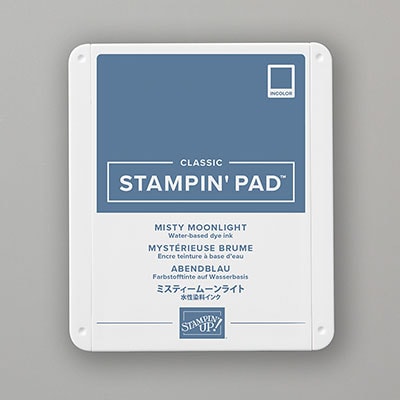
Stamp Pads: Misty Moonlight (153118); Versamark
(102283)
·
Tools: Stampin’ Cut & Emboss
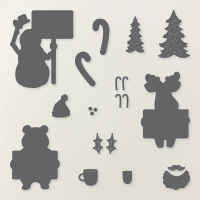
Machine (149653); Christmas Crew Dies (168376); Christmas Words Collage Hybrid
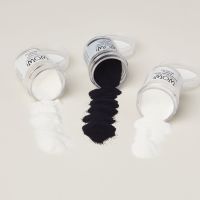
Embossing Folder (165912) Wow! Basics Embossing Powder (165679); Heat Tool (129053);
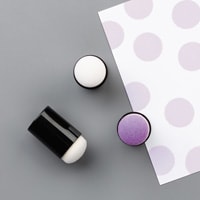
Blending Brush (153611), Sponge Dauber (133773)
·
Miscellaneous: Stampin’ Dimensionals
(104430); Stampin’ Seal Adhesive (152813); Mini Glue Dots (103683);
Multipurpose Glue (110755); Misty Moonlight Checkered Trim (167480); Glossy
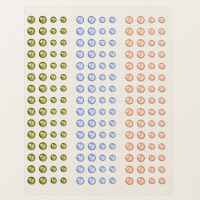
Garden Dots (168577)
Measurements:
·
Misty Moonlight: 4 ¼” x 11” scored @ 5 ½”, cut 1 ¼” off bottom, 4”
x 4”
·
Basic White: 4” x 5 ¼”
·
Instructions:
1. Measure, score, and cut your
paper.
2. Using the 4 ¼” x 1 ¼” Misty
Moonlight you cut off the bottom of the card base, die cut the 2 trees.
3. Stamp with Misty Moonlight the
greeting “sending Holly Jolly wishes” to the top center of the Basic White and
attach to the inside of the card.
4. Use
the 4” x 4” Misty Moonlight to emboss with the Christmas Words Collage Embossing
Folder. Use a Blending Brush and the Misty Moonlight ink to lightly go over the
embossed words to make them pop a little bit.
5. Use Versamark, the Basic White
Embossing Powder, Heat Tool, and Sponge Dauber to add the white to the top of the
trees. I double embossed the very top of the tree to add another layer, but
this step is optional.
6. Assemble: Wrap the 5-inch
ribbon to the bottom of the embossed 4” x 4” by putting Seal on the ends of
both sides of the back. Use Multipurpose Glue to attach the 4” x 4” paper to
the front of the card. Attach the 3-inch ribbon to the ribbon and make a knot
bow. Trim to the size you like and place a Mini Glue Dot behind the knot to
secure it in place. Liquid glue the larger tree to the bottom left of the Basic
White. Use half a Dimensional to attach the smaller tree. *If you place it just
right the tree tip will overlap the front and secure it closed.
7. Embellish with 3 Glossy Garden
Dots.
Happy Stampin' Everyone!!!


No comments:
Post a Comment
Thank you so much for leaving me a comment! It really makes my day and I love hearing from you! <3