

It is Wonderful Wednesday! When you order from me on a Wednesday in July using the Hostess Code CYV9WKTP
I'll send you the Fine Sparkle Gems! Start shopping by clicking here.

For Wonderful Wednesday this week I am sharing with you my Stamp Set of the Month Kit using the Hippest Hippos! You can get this kit for FREE this month when you select the Hippest Hippos Stamp Set for your Sale-a-bration item! See the full stamp set by clicking here.
You'll notice that in this kit I really wanted to show how diverse this stamp set can be. From Summer Fun to Christmas Hippos!
Supplies
*Hippest Hippos
*Hippo Dies
Paper- Basic White, Basic White Thick, Orchid Oasis, Tahitian Tide, Starry Sky, Sweet Sorbet, Parakeet, Party, Petal Pink, Smoky Slate, Real Red, Garden Green, Old Olive, Soft Suede, Balmy Blue, Daffodil Delight, Crumb Cake, Shimmer White
Ink- Memento Black, Stazon Black, Orchid Oasis, Sweet Sorbet, Parakeet Party, Balmy Blue
Embellishments- In Color Matte Decorative Dots, Red Rhinestones, Pearl Basic Jewels
Designer Series Paper- *Sale-a-bration Silver & Gold, Hostess Design A Daydream
Dies- Stylish Shapes, Basic Border, Waves, Give It A Whirl, *Tree Lot
Cloud Embossing Folder
Stampin' Blends- Petal Pink, Smoky Slate
Watercolor Pencils
Blender Pen
*Sale-a-bration item, can only get with a $50 or $100 order for FREE

Measurements
Thick Basic White Cardbase: 5 1/2 x 8 1/2 scored @ 4 1/4
Basic White: 4 x 5 1/4
6 x 1/2
Orchid Oasis: 1 x1
Tahitian Tide: 1 x 1
Starry Sky: 1 1/4 x 3/4
Sweet Sorbet: 1 x 1
Parakeet Party: 1 1/4 x 1 1/2
Steps
- Measure, score and cut your paper.
- Die cut out of the 4 x 5 1/4 Basic White all at once the 5 summer shapes from the Hippo Dies. Save the die cut items to glue on later.
- Glue on behind each die cut shape the color of your choice.
- Glue on the goggle inside and sunglasses inside.
- Attach to cardbase with dimensionals and glue the matching cut out dies to their match.
- Stamp on the scrap of Basic White the saying 3 times but each time in a different color. Cut out a line from each stamp saying and glue onto the front of the card in a line or use dimensionals to attach.
- Embellish with the In Color Matte Dots.

Measurements
Balmy Blue Cardbase: 5 1/2 x 8 1/2 scored @ 4 1/4
Basic White: 4 1/8 x 5 3/8
1 x 3 1/2
1 x 1
3 1/2 x 3 1/2
Balmy Blue: 4 x 3 1/4
3 1/2 x 3 1/2
scrap
Daffodil Delight: 1 x 1
Smoky Slate: 2 x 3
Steps
- Measure, score and cut your paper.
- Emboss with the Clouds Embossing Folder the Basic White.
- Die cut out the largest Stylish Shapes circle from the Basic White & Balmy Blue.
- Die cut the waves out of the top of the 4 x 3 1/4 Balmy Blue and the splash out of a scrap.
- Die cut the waves out of the circle Balmy Blue (watch video to see how).
- Die cut the Basic White label and stamp in Balmy Blue. Die cut out the life preserver and embellish with the Red Rhinestones.
- Die cut the Crumb Cake boat.
- Stamp the hippo onto the Smoky Slate and die cut it out.
- Assemble: Glue the Balmy Blue wave to the Basic White Cloud and attach to the cardbase. Glue your big wave onto the circle and the smaller wave attach with glue dots at the side (so you can slide in the boat). Attach hippo with dimensional and glue in the boat and life preserver. Attach circle and label with dimensionals. Glue on the Daffodil Delight hearts.
*Optional: Use Blending Brush or sponge to create a sunset look with the Daffodil Delight onto the Basic White clouds and circle.
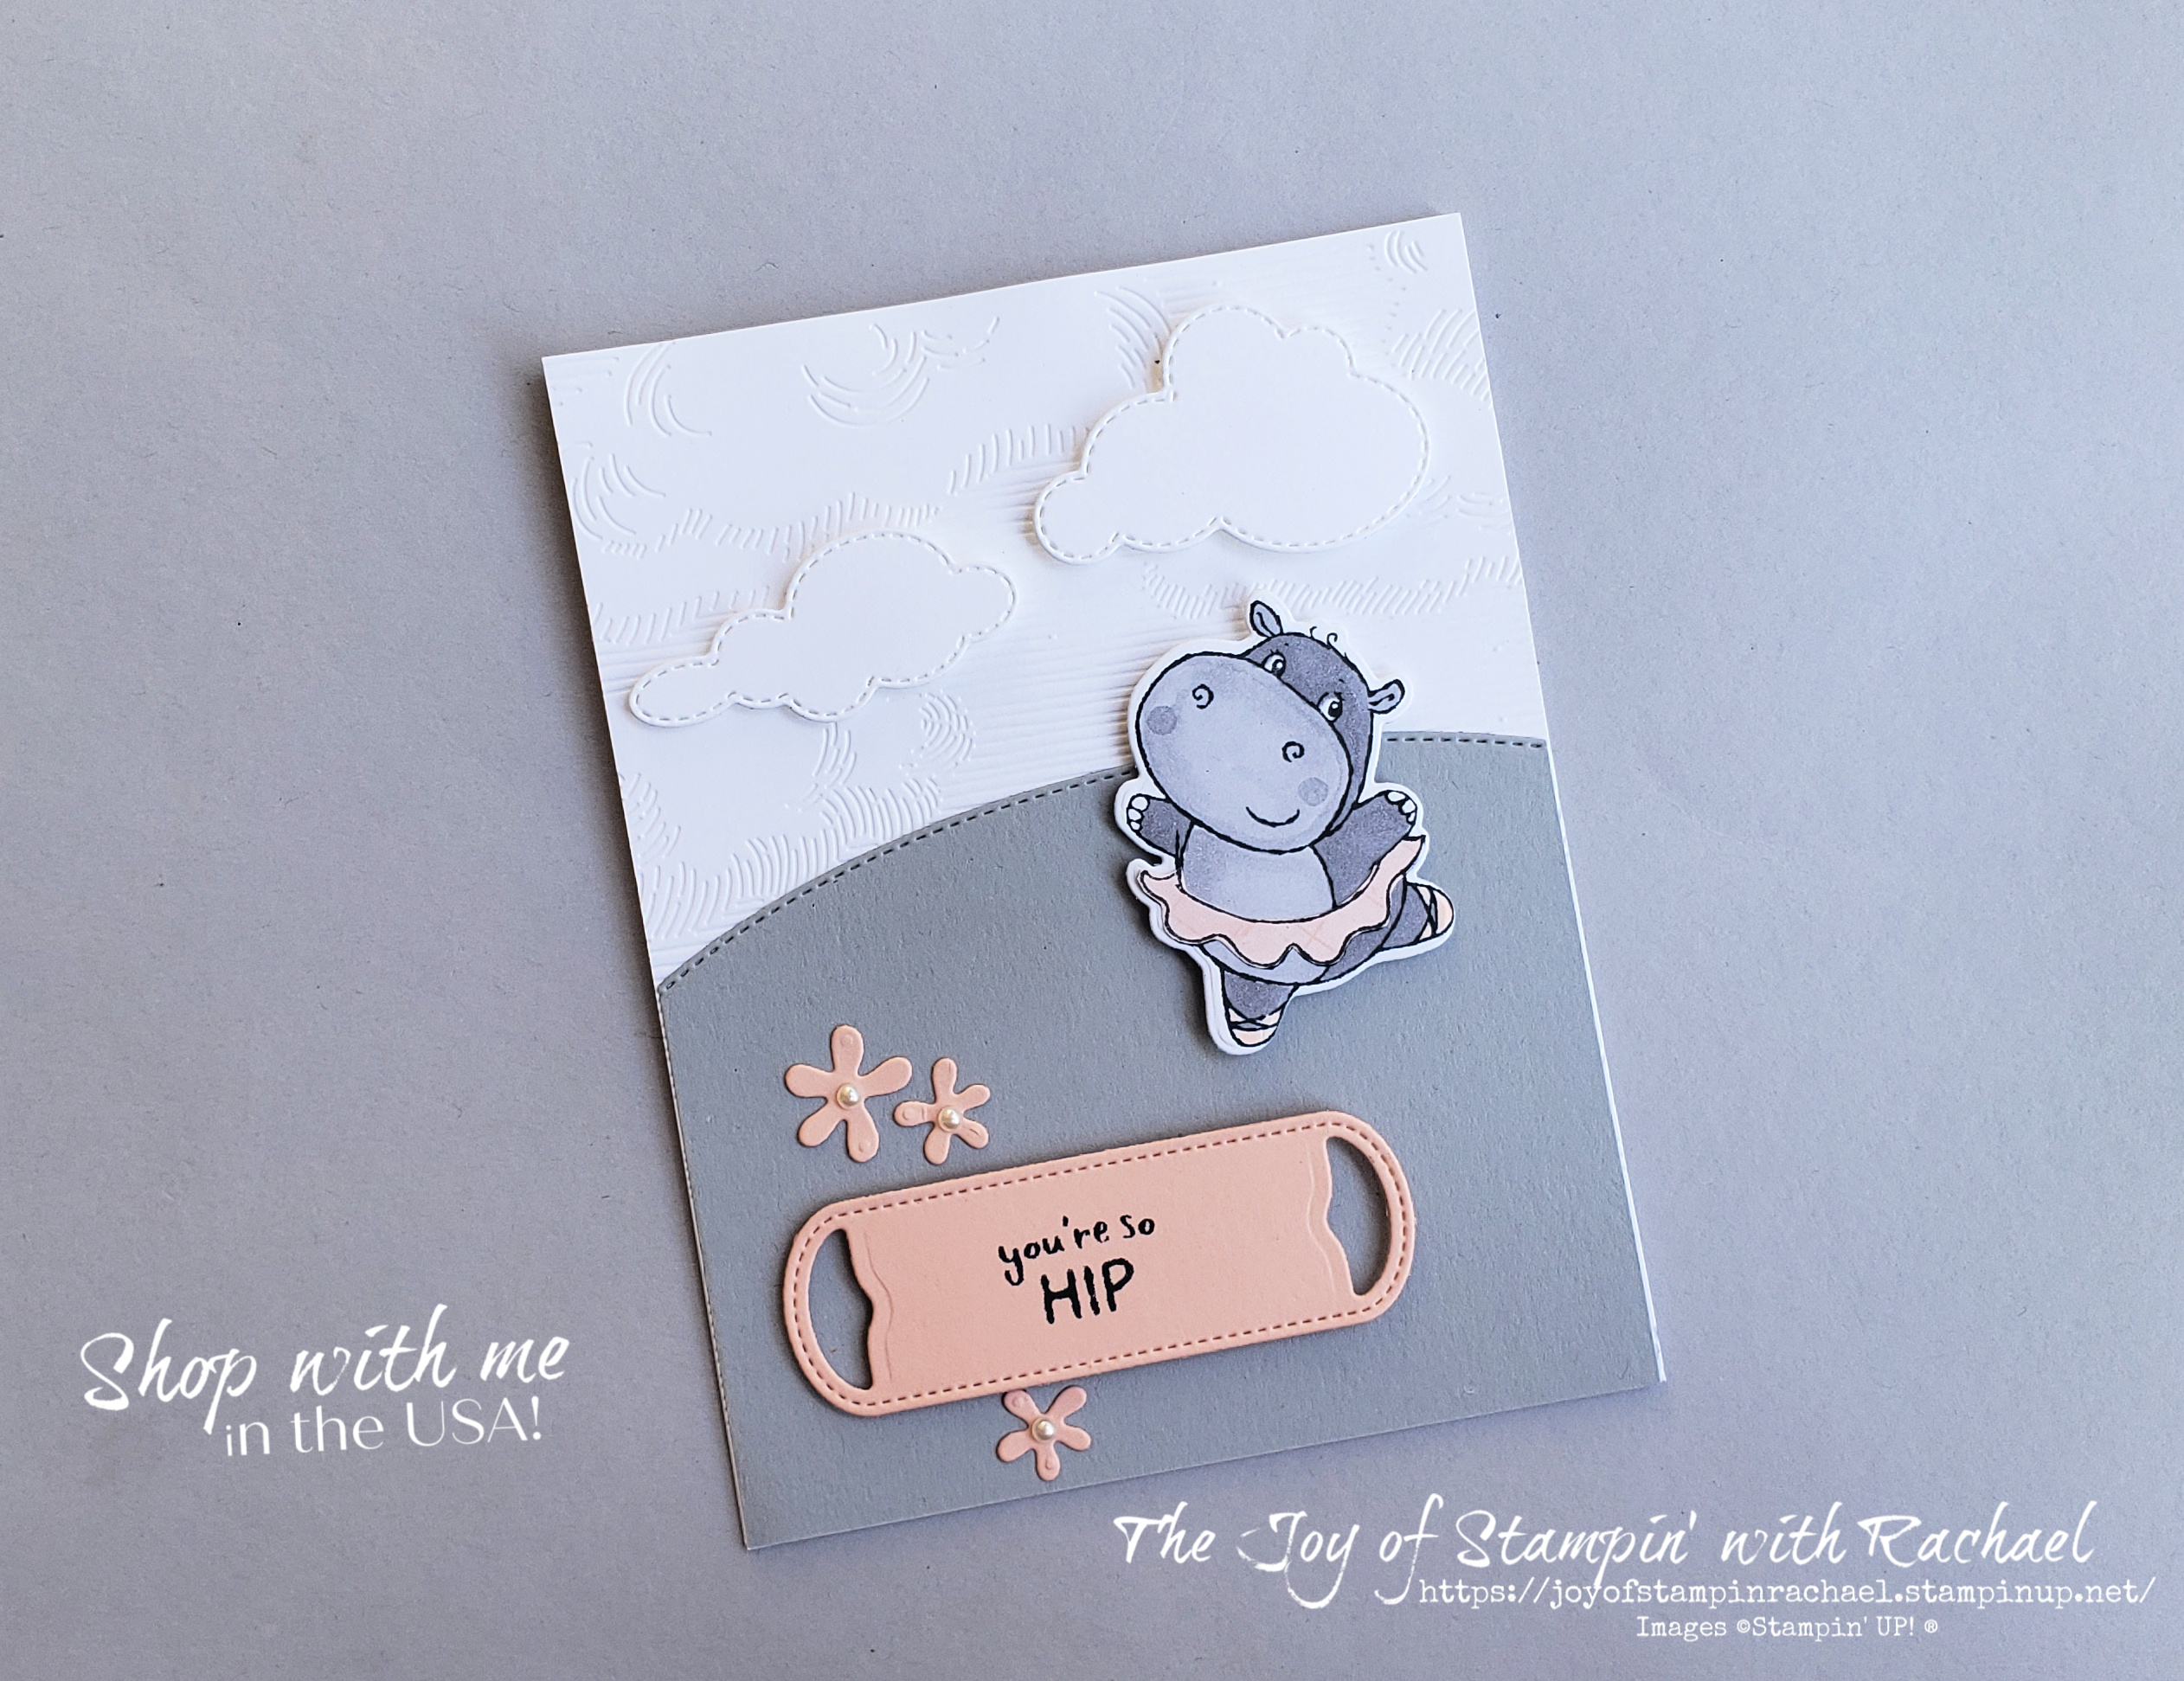
Measurements
Thick Basic White: 4 1/4 x 11 scored @ 5 1/2
Basic White: 4 1/4 x 5 1/2
4 x 4 (die cut hippo and clouds)
Petal Pink: 3 1/2 x 2
DSP: 1 x 2
Smoky Slate: 4 1/4 x 3 1/4
Steps
- Measure, score and cut your paper.
- Die cut the Basic White Clouds.
- Die cut Basic Gray with the Border Dies just on the very top.
- Die cut out the Petal Pink label (Wave Dies) and the flowers from the Hippo dies.
- Stamp on the Basic White in Memento Ink the hippo and die cut her out. Color her in with your Stampin' Blends.
- Stamp the hippo (mostly the skirt) onto the DSP and fussy cut that out (might have to use tweezer to hold the paper). Glue skirt to the hippo.
- Emboss the Basic White with the Clouds Embossing Folder and attach to the front of the cardbase.
- Assemble: Glue the Smoky Slate hill. Attach the clouds, hippo, and label with dimensionals. Glue the flowers with liquid glue.
- Embellish the flowers with the Pearl Jewels.

Measurements
Real Red Cardbase: 5 1/2 x 8 1/2 scored @ 4 1/4
DSP: 4 x 5 1/4
Garden Green: 3 1/4 x 4 1/4 (die cut and matte)
Shimmer White: 3 x 4
Old Olive: 1 1/2 x 3
Soft Suede: 1 x 1
scrap of Real Red
Steps
- Measure, score, and cut your paper.
- Die cut from the Garden Green matte the tree and the wreath.
- Die cut the back of the tree from Old Olive.
- Die cut the Soft Suede for the tree stand.
- Die cut out the Real Red bow.
- Stamp in Stazon Ink onto the Shimmer White the hippo. Use your Watercolor Pencils and Blender Pen to color him in.
- Glue the DSP onto the cardbase front.
- Glue the tree together with the stand next to the hippo. Glue on the Wreath.
- Attach to the Garden Green matte and attach with dimensionals.
- Embellish with the 5 Red Rhinestones.
Facebook Live Video


No comments:
Post a Comment
Thank you so much for leaving me a comment! It really makes my day and I love hearing from you! <3