These designs were made by the Stamp & Share Crew Design Team!!!
This bundle has your Autumn covered with it's great images, and dies! You can order this from my online store when you click
HERE.
More Than Autumn
All
images © 1990-2024 Stampin’ Up!®
Supplies:
·
Stamp Sets: More than Autumn (164076)
·
Card Stock and Paper: Pretty Peacock CS (150880) Basic White CS(159276); A Little Latte
12x12 Designer Paper (163453)
·
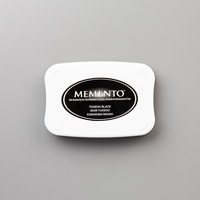
Stamp Pads: Memento Tuxedo Black Ink
(132708), Versamark Ink (102283)
·
Tools: Deckled Rectangles Dies (159179)
Stylish Shapes Dies (159183) Forever Plaid 3D Embossing Folder (164049) Flirty
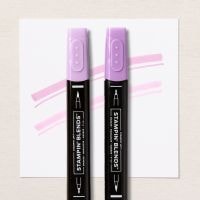
Flamingo Combo Blends (154884) Petal Pink Combo Blends (154893) Stampin’ Blends
Medium Combo (159462) Stampin’ Blends Medium Deep Combo (159461) Embossing Tool
Kit (159971) Heat Tool (129053)
·
Miscellaneous: Wow
Embossing Powder Basics (165649) Multipurpose Liquid Glue (110775); Blooming Pearls (162238)
Measurements:
·
Pretty Peacock 5 ½” x 8 ½” Scored at 4 1/4
·
Basic White for Inside Panel 4” x 5 ¼”
·
A Little Latte Designer Paper Strip 2”x 5 ½”
·
4th from the smallest deckled rectangle die in Basic White
Instructions:
1. Fold Pretty Peacock Card
Base in half
2. Stamp Doughnuts Sentiment in
bottom right corner of Card Base In Versamark Ink
3. Add White WoW Embossing
Powder and Heat Emboss with Heat Tool
4. Adhere A Little Latte
Designer Paper Strip to Pretty Peacock Card Base
5. Emboss Deckled Cirlce with
Forever Plaid 3D Embossing Folder
6. Adhere Deckled Circle to
Left Side of Card Base on top of Designer Paper
7. Stamp 3 Doughnuts with
Memento Tuxedo Black Ink
8. Color Doughnuts and Die Cut
out
9. Adhere Doughnuts to Deckled
Circle
10. Die Cut Banner in Pretty
Peacock from Stylish Shapes Dies
11. Stamp You had me at
sentiment with Versamark Ink
12. Add White Wow Embossing
Powder and Heat Emboss with Heat Tool.
13. Adhere Banner to Center of
Card Base
14. Adhere Basic White Panel to
inside of the card.

More than Autumn
All
images © 1990-2024 Stampin’ Up!®
Supplies:
·
Stamp Set: More Than Autumn (164228)
·
Card Stock and Paper: Cajun Craze (119684); Basic
Beige (164511); Crumb Cake (120953); Basic White (159276)
·
Stamp Pads: Memento Tuxedo Black (132708);
Smokey Slate (147113)
·
Tools: More Than Autumn Dies (164075);
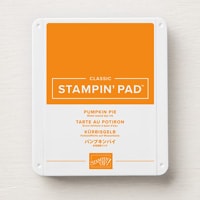
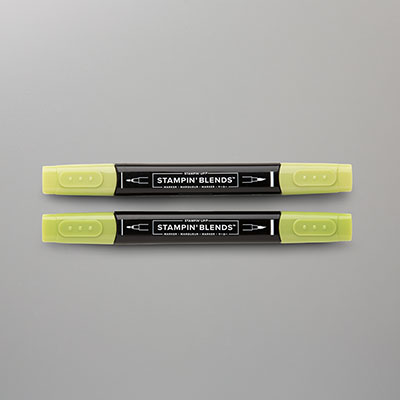
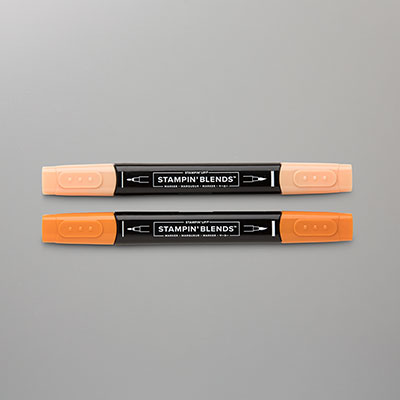
Wink of Stella Glitter Brush (141897); Stampin’ Blends: Real Red (154899), Pumpkin
Pie (154897), Granny Apple Green (154885), Pecan Pie (161674)
·
Miscellaneous: Natural Polka Dot Trim (163465);
Stampin’ Dimensionals (104430);
Stampin’ Seal
(152813); Multipurpose Liquid Glue (110755); Mini
Stampin’ Cut and Emboss Machine (150673)
Measurements:
·
Cajun Craze CS: 8½” x 5½”, scored at 4¼”; 2¾” x ¾”
·
Basic Beige CS: 5¼” x 4”
·
Crumb Cake CS: 1½” x 1½”
·
Basic White: 4¾” x 3½”; scrap for die cuts
Instructions:
1.
Adhere the Crumb Cake square (angled like a diamond) to the center
of the Basic Beige CS. Use a ruler and
pencil to draw lines on the Basic Beige CS (where you see the ribbon).
2.
Alternate stamping the apples and pumpkins in the different
quadrants using Tuxedo Black Memento Ink. Use the Stampin’ Blends to color one
apple and one pumpkin in each quadrant.
3.
Run your Stampin’ Seal along the edge of the Crumb Cake CS to the
edge (following along the pencil marks.)
Push the Natural Polka Dot trim into the Stampin’ Seal (liquid glue will
not work properly). Snip at the edge of the Basic Beige CS.
4.
Stamp the cup in Tuxedo Black Memento ink (color with Stampin’
Blends) and the Whipped topping in Smokey Slate ink on Basic White CS scrap.
Use dies to cut and to cut the “Nothing’s Better Than”. Adhere the sentiment
onto the Cajun Craze CS strip.
5.
Adhere the cup and whipped topping with dimensionals, then adhere
the strip with dimensionals.
6.
Apply Wink of Stella Glitter Brush to the whipped topping.
7.
Now apply the Basic Beige to the Cajun Craze card base.
8.
Add the Basic White CS to the inside and stamp “except maybe you”,
the cup in Tuxedo Black Memento ink and the whipped topping in Smokey Slate
ink. Color with Stampin’ Blends. Add the apple or the pumpkin to the center of
the cup – depending upon whether you are “Team Apple” or “Team Pumpkin”.
Happy Stampin' Everyone!!!