t> The Joy of Stampin' with Rachael

Sunday, March 19, 2023

Rain or Shine Stamp Camp Creations


I just finished up my March On The Go Stamp Camp and wanted to share with you my creations for this event! I teamed up with Neemee Batstone from Canada and she designed 4 cards and 1 treat holder for this event as well. 
You can still get the Tutorials and Videos for this class for $29 by emailing me at
thejoyofstampinwithrachael@gmail.com
and I'll send them directly to your inbox. 


Gifts


What is a Stamp Camp without gifts???


We made a flower pot that would hold a packet of seeds. 


We also included this cute paper bag that included ribbon, chocolates, and chapstick! 


Cards & Treat Box


3 Umbrellas Card


Oh Happy Day Kite Card


Inside of card


Rainy Days with Bunny Card


Close up on the cute bunny all dressed up using a FUN technique. 


Fun Fold Card


This card was super fun with LOTS of openings! 


Cute fox!


Happy Bunny!


Treat Holder


My next Stamp Camp is a 5 day event, 2 cards and of 1 design each day, for 10 cards total!
Register using this link


Happy Stampin' Everyone!!!


Friday, March 17, 2023

Fun Fold Friday- Lucky Clover & Something Fancy Card


Happy St. Patrick's Day Stampin' Friends!!! Today I paired some Stampin' UP!'s Lucky Clover Stamp Set with the Country Lane DSP, and the Something Fancy Dies! Some times we get stuck in when we look at a stamp set or DSP that has a certain theme to it (like Valentine's Day or St. Patrick's Day) but here is a BONUS idea on what you can make with these products after the holiday is over! 


I love the layers of this card and love that the Something Fancy Dies have some bonus dies like the flower and leaves on this card. 


I LOVE all the layers on this card! 


This card could be used for so many things! I think it would make a perfect Wedding Card even! Watch my video to see how I change up the DSP! 


Measurements:


·       Mossy Meadow: 5 ½” x 4 ¼”, 3 ¾” x 11 scored @ 2 ¾” & 7 ¾”, 3 1/2” x 2” (die cut)

·        Petal Pink: 5 ¼” x 4”, 3"x 2" 

·       Basic White: 2” x 2” (die cut), 3 ½” x 4 ¾”

·       DSP: 3 ½” x 3”, 3 ½” x 2 ½”


Instructions:

1.     Measure, score, and cut your paper.

2.     Die cut your Basic White, Mossy Meadow, and Petal Pink labels. Die cut the Mossy Meadow leaves and Petal Pink flower for scraps. 

3.     Stamp in Mossy Meadow onto the Basic White and glue to the Petal Pink label.

4.     Assemble: Glue the Petal Pink to the 5 ½” x 4 ¼”. Glue the DSP to the Mossy Meadow and attach it to the Mango Petal Pink. Glue the Basic White to the inside. Glue on the die cut flower and leaves. Put dimensionals on the back of the top half of the label and attach to the bottom of the top half.

5.     Embellish with the Basic Rhinestones. 

Facebook Live Video


Happy Stampin' Everyone!!!


Wednesday, March 15, 2023

New at SU! Alphabet A La Mode & Playing in the Rain Easter Card


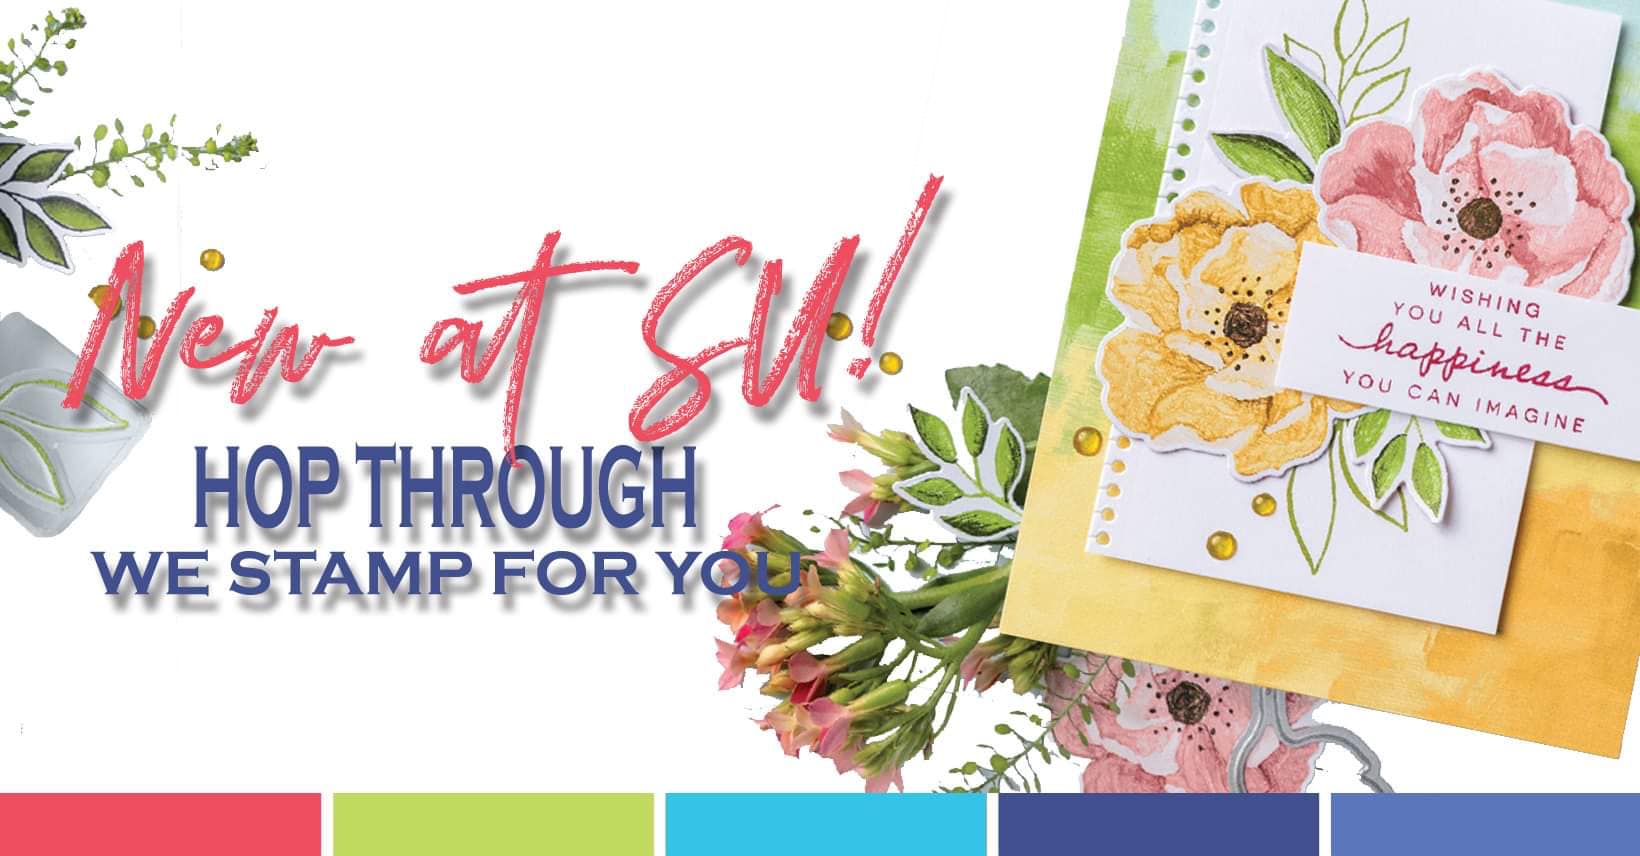
Welcome to the NEW AT SU! Blog hop! We are a group of StampinUp! demonstrators from around the world who are full of creative paper crafting ideas to share with you and get you crafting! Today we are showcasing products from the StampinUp! Catalog using letters that can Spell it Out!

I decided to use the Playing in the Rain Stamp Set with the Alphabet a La Mode Dies to help me "spell out" this Easter greeting.  Since the stamp set does not include an Easter stamp greeting, I LOVE that I could make a custom card using these Alphabet dies. 


The Playing in the Rain set has 3 different characters that you can stamp but it also has matching Designer Series Paper called Rain or Shine Specially Paper. 


I was able to die cut out 4 different creatures using the DSP and the Playing in the Rain Dies. 
Can you spot another difference in my four cards...hint, look at the clouds! 
I've embossed 3 of them with the Into the Clouds Embossing Folder and left one not embossed!
Can you see it now? 


The secret to using the Alphabet A La Mode Dies is to use Stampin' UP! foam sheets to help make the thin letters more sturdy. I also just love the look of "popped up" letters! 
For the "happy" I fussy cut with my Paper Snips from the greeting "Oh Happy Day!" 


I used the Stitched with Whimsy Dies to create the border on the Basic White. 
Thank you so much for stopping by and I look forward to hearing from YOU in the comments!
Below are the links to help you "H-O-P" online to see more Spell It Out cards! 


I am happy to answer any questions about the techniques shown here! Please contact your StampinUp! demonstrator to make a product purchase. If you do not have a demonstrator, you can use the links below to order products from me or join my team.


Happy Stampin' Everyone!!!


Cards Sale for Lincoln's Race in New York

  Hey Stampin' Friends!  I am donating my hand stamped cards for my son to sell to earn money for his trip to New York to run a race wit...